|
|
|
|||||||||||||||||||||||||||||||||||||||||||||||||||||||||||||||||||||||||||||||||||||
|
|
||||||||||||||||||||||||||||||||||||||||||||||||||||||||||||||
Acura Main Relay
Acura Main Relay location and removal procedures.

 Integra
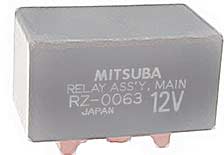
EFI Main Relay for:
The main relay is located behind left side of the dash and above and behind the fusebox and above the hood release. The First generation Legend main relay location is between the steering column and the fuse box. It's deep in there. There was a little difficulty drawing the relay so it's actually very deep in there. There is a device (a relay) blocking the main relay. You will need to remove it to get a view of the main relay. The removal procedure is the about the same as the Accord's procedure. |
 Legend, 96-98 Acura TL main relay |
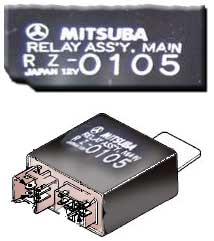
Acura Integra 98-01 main relay location:
Locating the main relay using your ears and fingers:
Steps:
1. Turn the ignition to ON. You should hear two clicks (a thousand of a second apart) under the left or right side of the dash board. One click is for the ECU/Injectors the other is for the fuel pump. At this moment the check engine light should come on.
2. Listen carefully at the moment the clicks engage (usually somewhere underneath the dashboard.) Reach in and touch the main relay.
3. 2 seconds later you should feel a click if the main relay is at least working or wait until it works. At this moment the check engine light should go out.
4. Turn the ignition to start and you should feel a click, turn engine off you should feel another click.
5. Most main relays should have seven terminals. Please check if the location is already listed below.
How do I get the main relay out?
Steps: See four ways below so you can get it out. First you have to reach high up in there and do all this with one hand and a flashlight.
|

A. Unbolt the bolt using a 10mm socket (picture A) or
Ab. Unclip the clip from the steel tab and slide it apart (picture A) or
B. Separate the steel tab from the plastic case (picture B) with a
large flat screw driver
jam and twist between the plastic case and the tab or
C. Disconnect the negative battery terminal. Unclip two clips I pointed with two arrows (picture C, or below)
with a small flat head screw driver or with a strong thumb and then yank it out (D.)
This is the preferred choice by many. Mechanics prefer choice A and maybe
B. See detailed relay circuit photo.
|
Next Step: Relay Fix and Repair >>